How to draw a Gnome in procreate
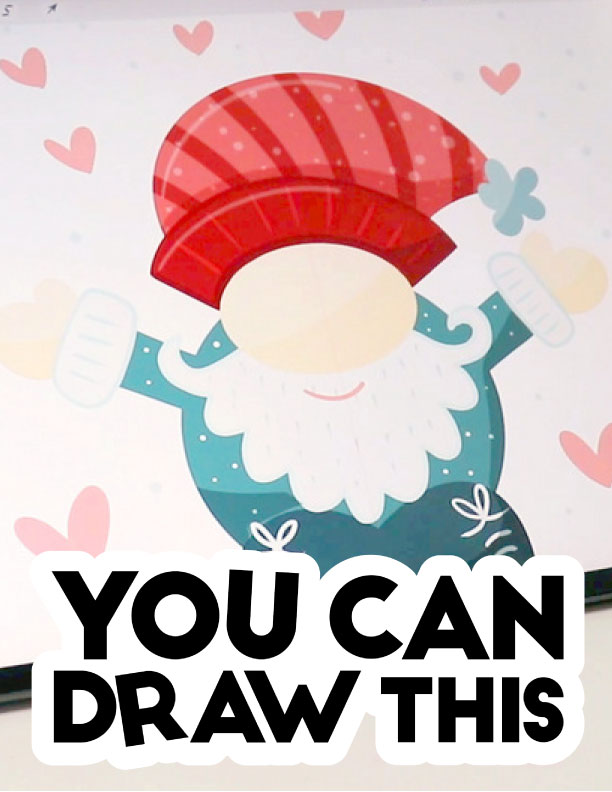
Time to start learning How to draw a Gnome in procreate. Today I’m going to teach you how to draw this cute holiday gnome. In this simple Procreate tutorial, you will go from a basic sketch to a fully finished digital illustration. This is a step by step tutorial.
I am a full time illustrator and this is my drawing process using my Ipad Air and the Procreate drawing app.
Draw this with me in procreate, following this step-by-step tutorial.
All you need to draw is your iPad, your apple pencil and the Procreate drawing app. Be sure to subscribe to my YouTube channel so you don’t miss any of my drawing videos.
How to draw a Gnome in procreate
- Let’s start by creating a new canvas. I’m going to use a square: 2048 by 2048 pixels. You can use any other Procreate canvas size, but if you are just practicing a square canvas is good for keeping the proportions of your drawing.
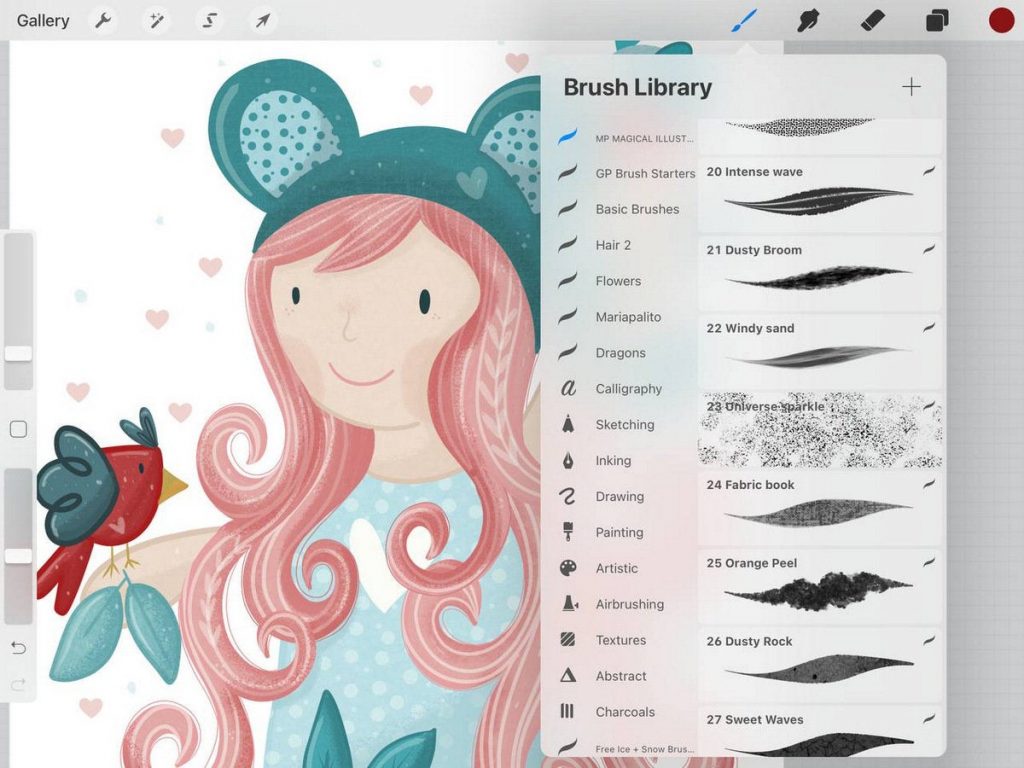
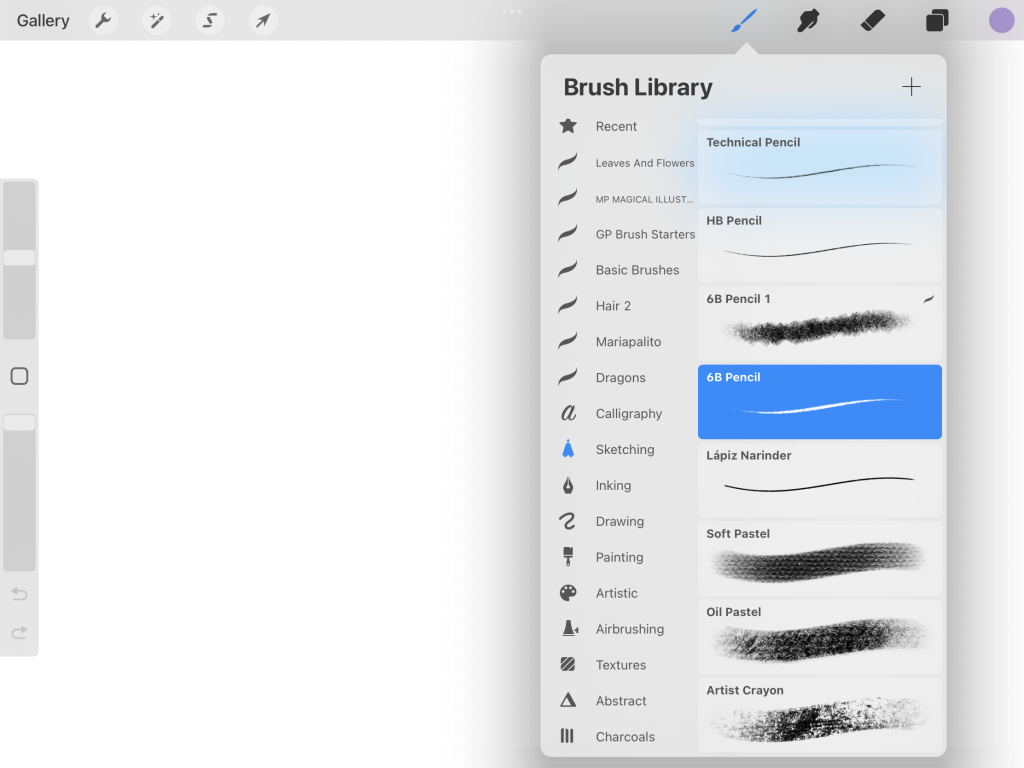
- Now it’s time to find a brush for the sketch. I love doing my sketches using 6B brush from the sketching brush set by procreate.

3. Follow the video to create a base sketch for your Christmas gnome. This is the sketch I made for my gnome.
4. Use a round or a point brush to draw each of the pieces. Use different layers to be able to modify them later.
5. You can watch the full video here: https://youtu.be/ppLKncJKnNU

DRAWING COLORS:
- HAT BASE: #a91616
- POINTY HAT: #d76262
- HAT DECORATION: #a6c2c6
- SKIN COLOR: #ffebd1
- BODY: #3f858a
- SHOES: #275561
- SOLE: #163037
- WHITE OUTLINE: #d2e5e4
DRAWING BRUSHES:
- 6B BRUSH from Sketching Brush Set
- Smooth Inking Brush from Magical Illustration Brush Set
- Monoline from Calligraphy Brush Set
